
Step 01
Acclimate the boards
Store boards on site, off the ground, flat and stickered so air can flow around them. Let them adjust to local humidity before installing.
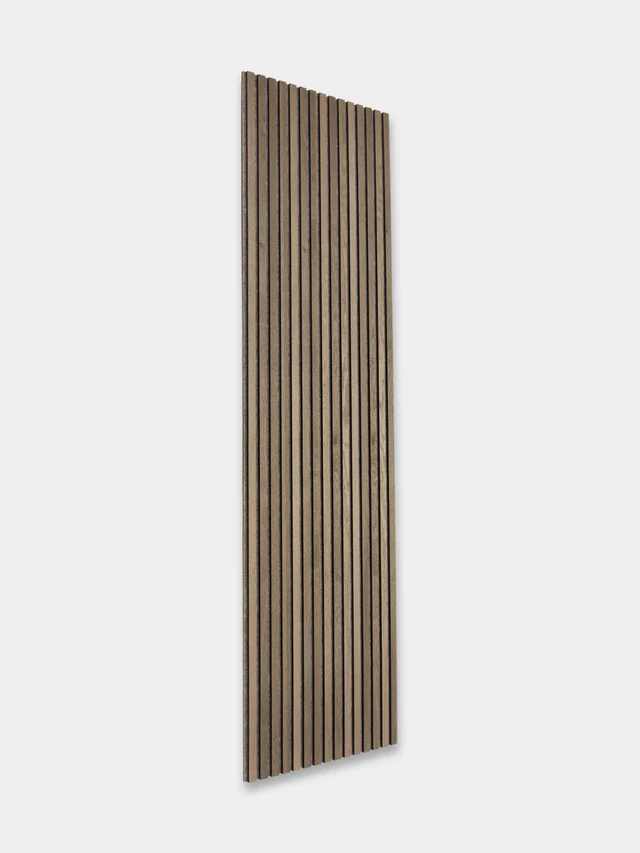
These are the core practices installers follow with dense hardwoods, thermally modified wood and composite. Plan with them before you order so you buy the right profile and fasteners.
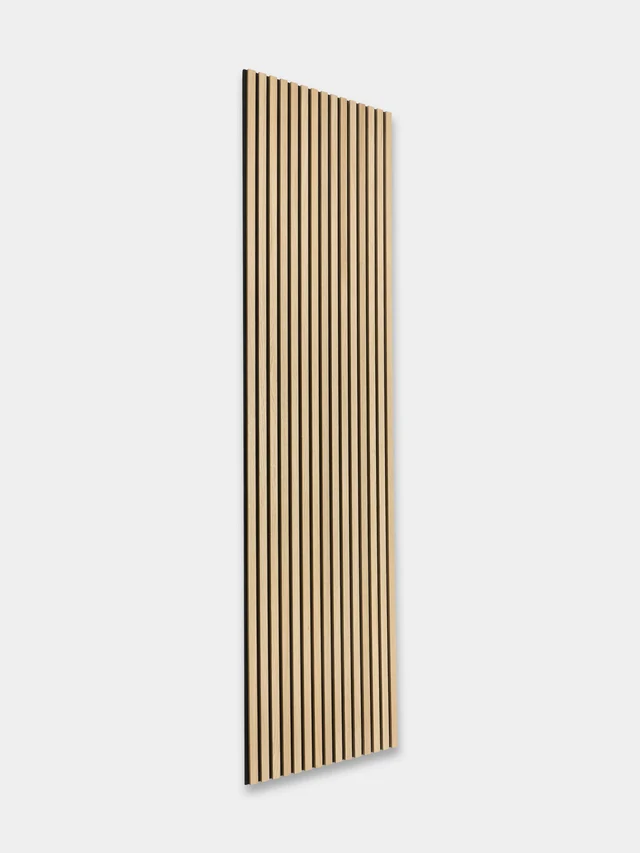
Store boards on site, off the ground, flat and stickered so air can flow around them. Let them adjust to local humidity before installing.
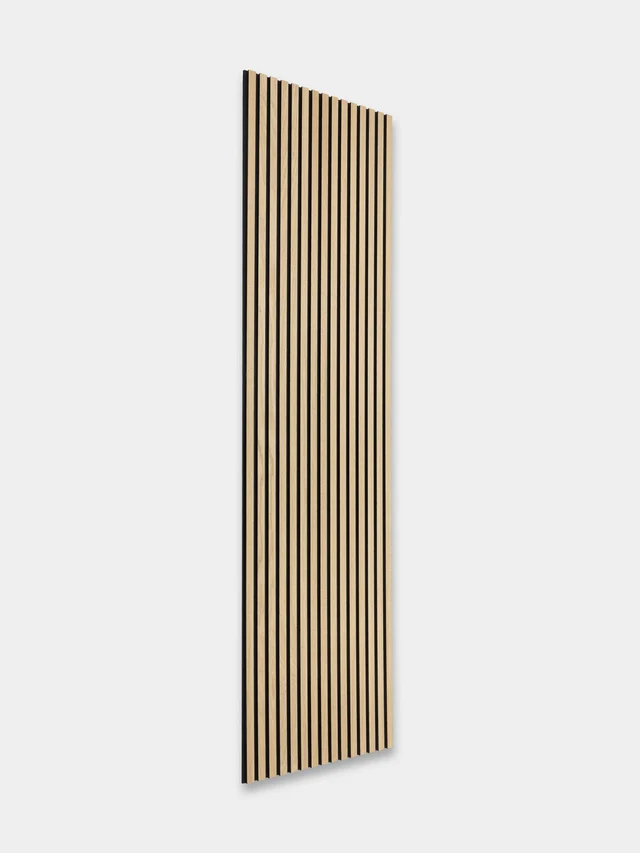
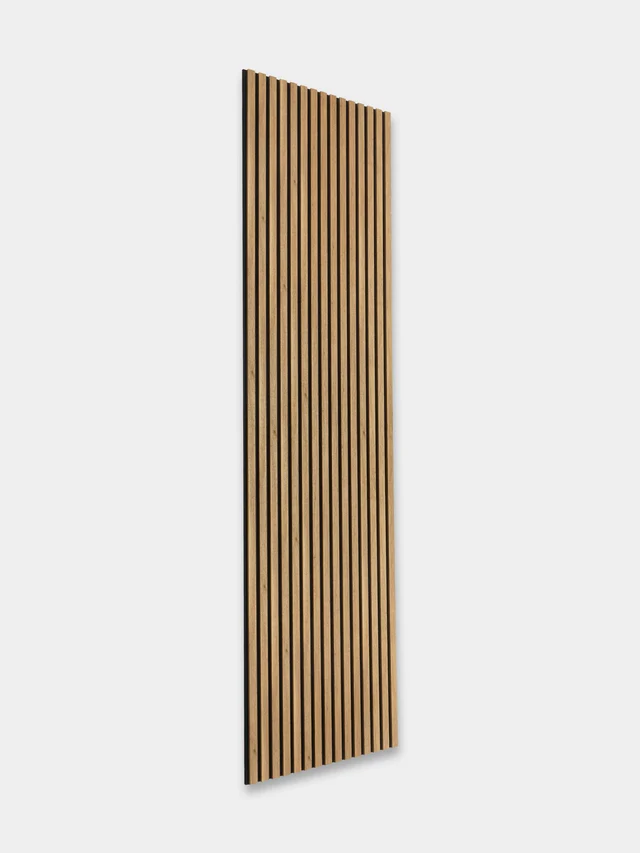
Leave consistent side gaps for drainage and seasonal movement, and end gaps where boards meet. Clip systems usually set the gap automatically.
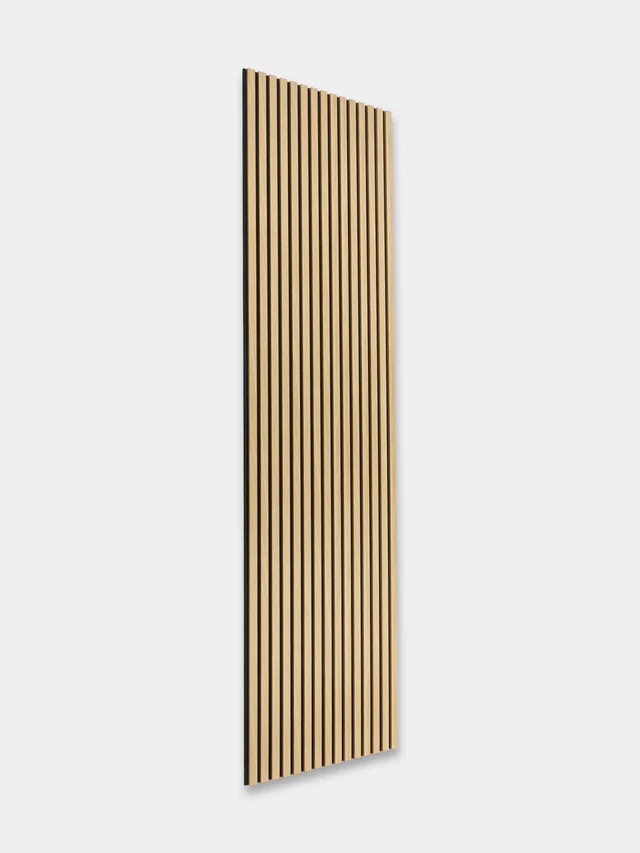
Apply end grain sealer to all cut ends of hardwood and thermally modified boards right after cutting. This reduces end checking and splits.
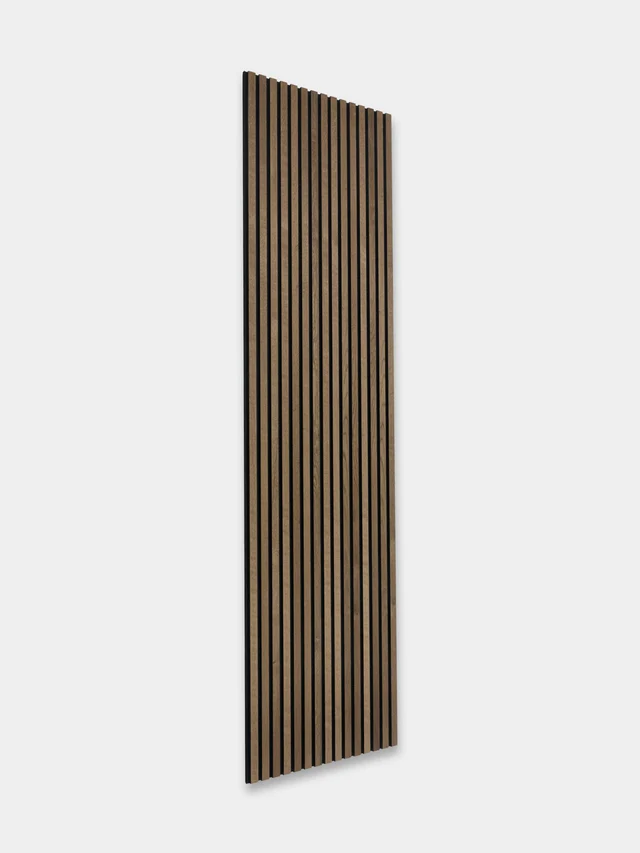
V-Joint and cladding boards go over a ventilated rain screen with furring strips. Keep a gap behind the boards for airflow and drainage.
This guide covers general best practices only. Always follow local building codes and the fastener or clip manufacturer's instructions, and consult a licensed contractor for structural work.